Files & images upload and manage
Right out of the box TinyMCE 5 allows inserting images to a page, and N1ED offers basic capabilities to upload them to the server. However, for a more or less content-rich website you need a way to sort images by directories, both for SEO purposes and to navigate easily through hundreds of uploaded images.
You may also sometimes need to fit an image to certain width or height, lighten it up, increase contrast, apply some filter or add a label.
These are possible thanks to add-ons: Flmngr (file manager) and ImgPen (image editor)
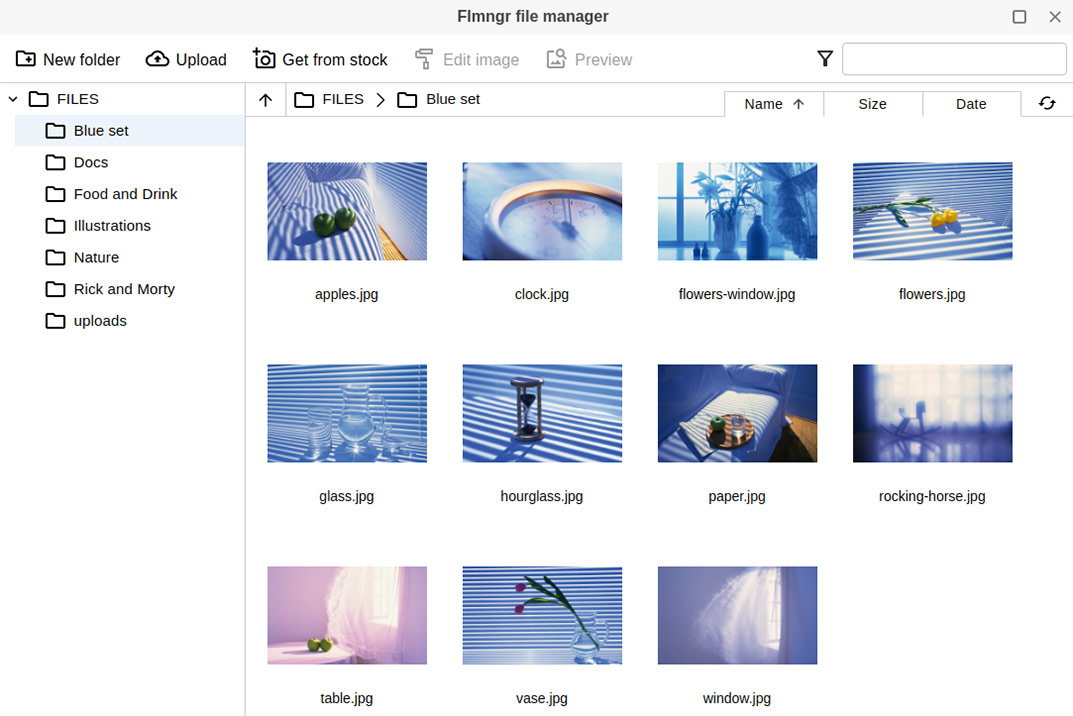 File manager for TinyMCE is called Flmngr. If you want to browse your files and directories, move them, upload new files and download the existing ones, as well as enjoy smooth integration with the image editor, this plugin is for you.
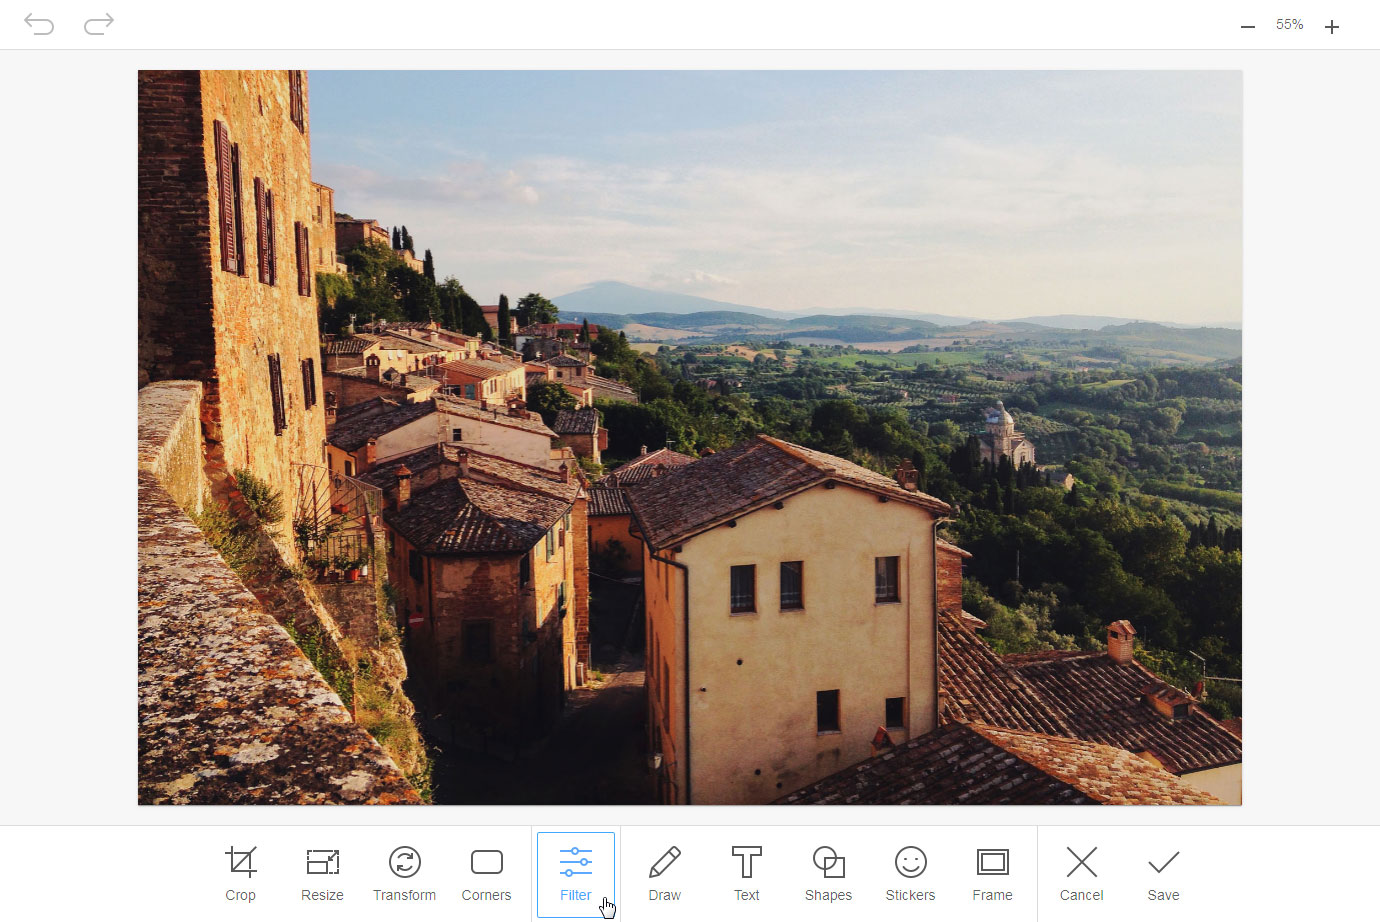 To get an image editor, we recommend installing the following plugin — ImgPen. This is a standard web image editor shipped as a TinyMCE add-on. It also features special integration with N1ED: the latter can invoke ImgPen for editing files of its UI if it detects ImgPen is installed.
File manager and image editor installation
Both Flmngr and ImgPen are included in N1ED multi-plugins which can be installed just like standard plugin — by adding them to the plugins parameter of the initialized config file of TinyMCE:
<script>
    tinymce.init({
        selector: "#editor",
        plugins: "n1ed"
    });
</script>
In this example we initialize N1ED with all plugins included inside it, you will be able to turn off unused plugins via visual dashboard.
The client part is configured, and now we need to teach the server to process the incoming files.
Server side configuration
In this example we will show how to install the server part of Flmngr in the PHP environment. If you use ASP.NET, Java, Node (JavaScript or TypeScript), the vendor offers the corresponding backends for them too.
To install the PHP backend, you need to first download it to some directory, for instance flmngr, in the public root of your server: /var/www/flmngr. Execute the console command:
composer require edsdk/flmngr-server-phpThen, we create a file, for instance /var/www/flmngr/flmngr.php, that will become the entry point for your file manager, with the following contents:
<?php
    require __DIR__ . '/vendor/autoload.php';
    use EdSDK\FlmngrServer\FlmngrServer;

    Flmngr::flmngrRequest(
        array(
            'dirFiles' => '/var/www/flmngr/files'
        )
    );
The first lines of this file import flmngr-server-php. Make sure the path to this file is specified correctly in your configuration.
The server part is installed and configured, now let's get back to the client. Specify the path where we put Flmngr and files:
<script>
    tinymce.init({
        selector: "#editor",
        plugins: "n1ed",
        urlFileManager: "flmngr/flmngr.php",
        urlFiles: "flmngr/files"
    });
</script>File manager is installed both on the client and the server, and is ready to work. ImgPen image editor uses the server part of Flmngr, so it does not require any additional configuring.