Translator logo

Translator plugin

Translate text up to 90 languages
Translator screenshot
Translator screenshotTranslator choose languages screenshot
Translator logo

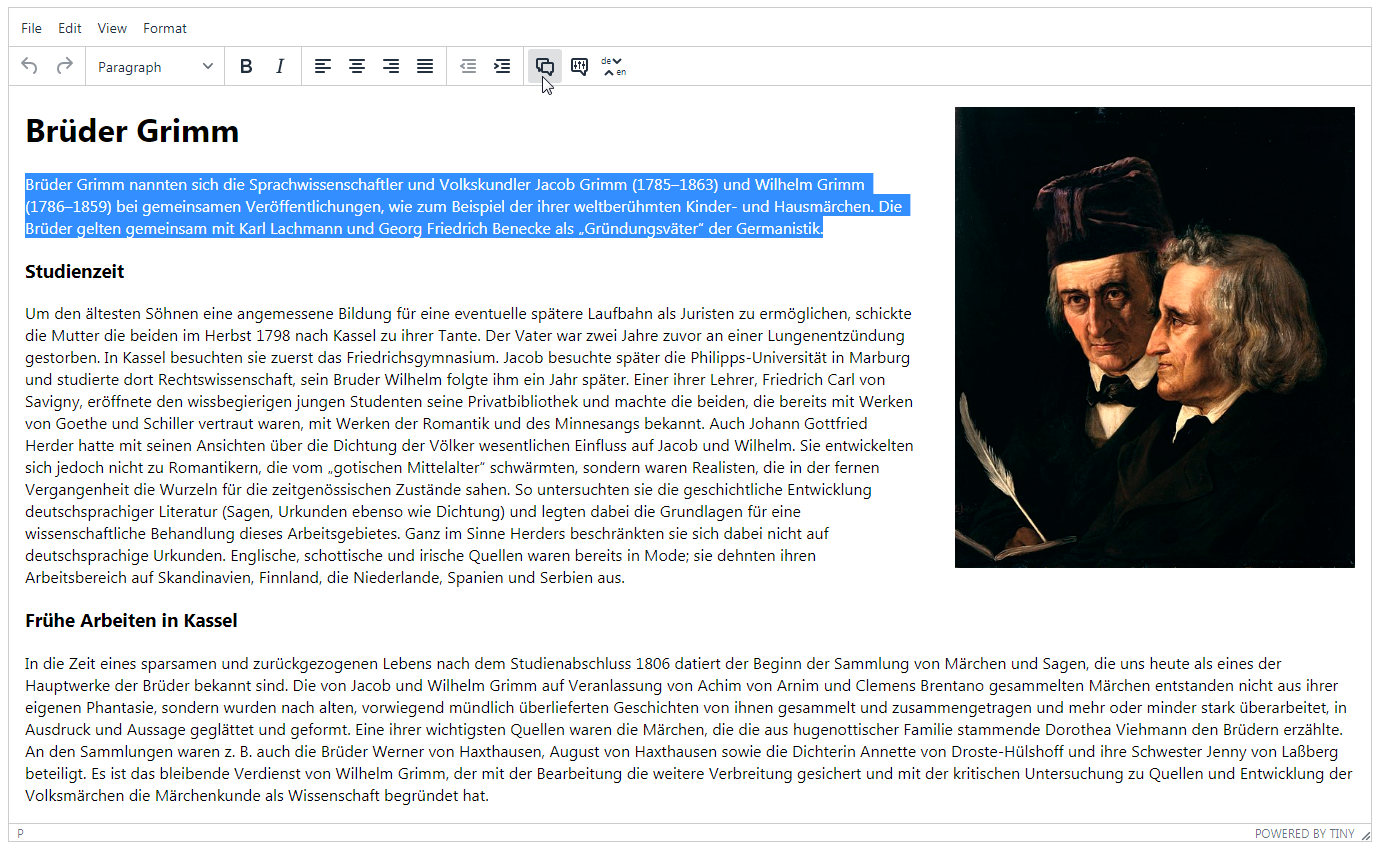
Translate your text to more than 90 languages directly in the editor: simply select the text and click the button or the shortcut. The text is then sent to Google Translate or Yandex Translate at your choice, gets translated and updated preserving HTML formatting. This means you can translate pages with complex formatting including various blocks and tables, and retain the original layout, and the translator takes the context into account when splitting the selected text to fragments.

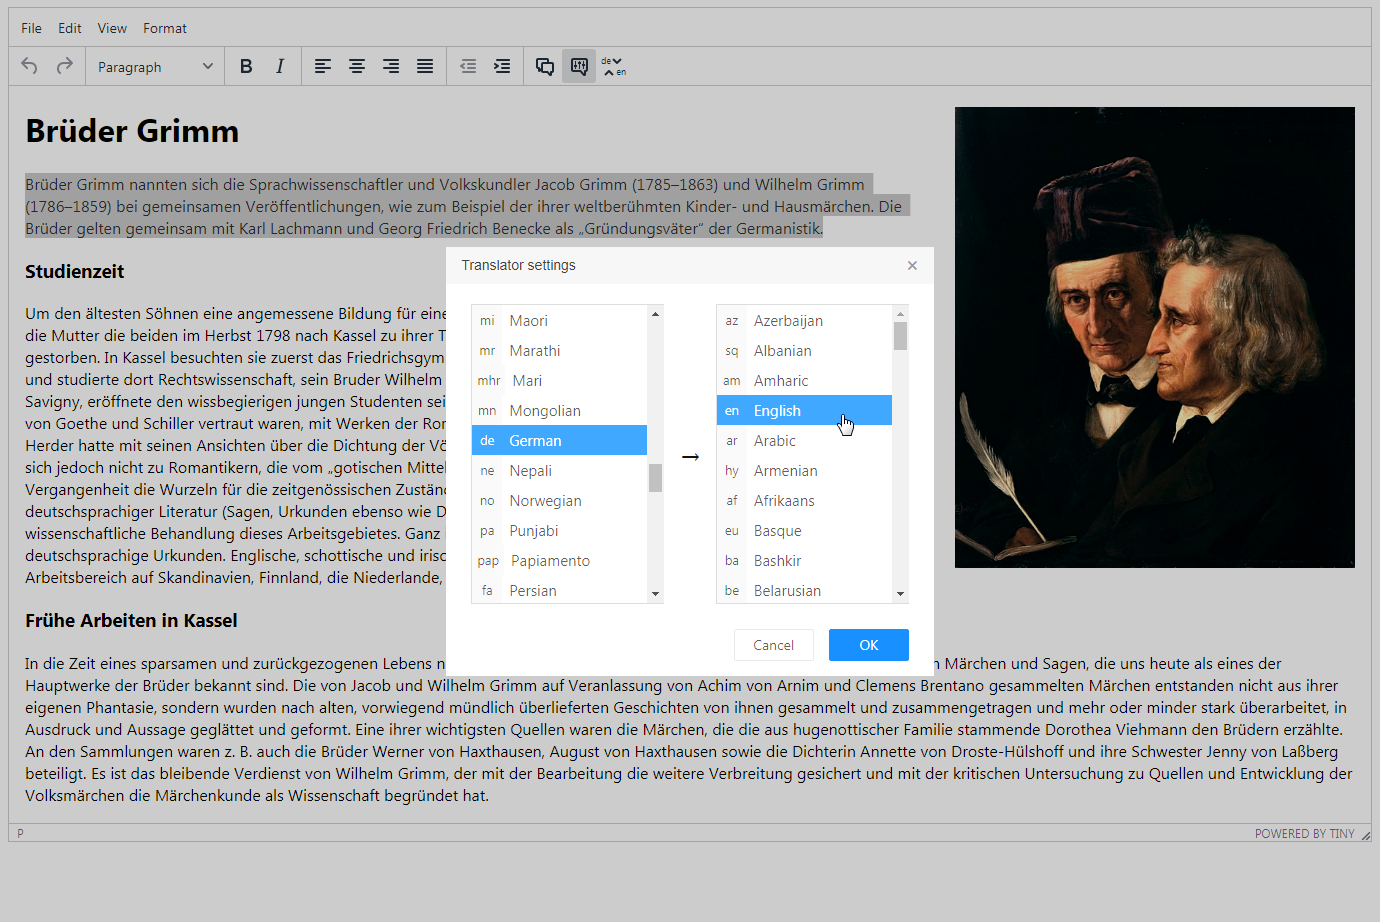
You can configure languages both using the config file and within the editor itself (for instance, to switch to another source or destination language temporarily). There is also a toolbar button to quickly reverse the translation direction.

CKEditor 4 logo CKEditor 4
TinyMCE 6 logo TinyMCE 6
TinyMCE 5 logo TinyMCE 5
TinyMCE 4 logo TinyMCE 4

Install Translator plugin in CKEditor 4

Download Translator
ZIP archive of Translator for CKEditor 4

Then do these simple steps:

  1. Copy Translator directory to ckeditor/plugins/.
  2. Edit CKEditor config and add Translator to extraPlugins parameter.
Using config file
Using initialization script

Example of configuring with config.js

If you prefer to edit config.js config file of CKEditor or when your CKEditor initialization code is placed inside some non-editable part of CMS, make these changes there:

CKEDITOR.editorConfig = function(config) {
    config.extraPlugins = "Translator";
    config.toolbar = [ ["Translator", "TranslatorReverse", "TranslatorConf"] ]; // or insert them into your toolbar config
};

Example of configuring inside initialization code

Some CMSs do not use config.js file and let to edit CKEditor initialization script only. Do this changes there:

CKEDITOR.replace("#editor", {
    extraPlugins: "Translator",
    toolbar: [ ["Translator", "TranslatorReverse", "TranslatorConf"] ], // or insert them into your toolbar config
});

Install Translator plugin in TinyMCE 6

Download Translator
ZIP archive of Translator for TinyMCE 6
Self-hosted TinyMCE 6
Cloud TinyMCE 6

Install the plugin to TinyMCE 6 hosted on your server

  1. Copy Translator directory to tinymce/plugins/.
  2. Edit TinyMCE config and add Translator to plugins parameter.

Example

Here you can see sample TinyMCE initialization code with config inside it:

TinyMCE.init({
    selector: "#editor",
    plugins: "Translator",
    buttons: "Translator TranslatorReverse TranslatorConf", // or insert them into your toolbar config
});

Refer to TinyMCE add-ons installation manual for more details

Install the plugin to cloud edition of TinyMCE 6

  1. Copy Translator directory somewhere on your server where it can be accessible by a link.
  2. Specify the location of just copied Translator plugin adding key-value pair in external_plugins TinyMCE config parameter.
  3. Edit TinyMCE config and add Translator to plugins parameter.

Example

Here you can see sample cloud TinyMCE initialization code with config inside it:

TinyMCE.init({
    selector: "#editor",
    plugins: "Translator",
    buttons: "Translator TranslatorReverse TranslatorConf", // or insert them into your toolbar config
    external_plugins: {
        "Translator": "http://example.com/public/Translator/plugin.min.js",
    },
});

Refer to TinyMCE add-ons installation manual for more details

Install Translator plugin in TinyMCE 5

Download Translator
ZIP archive of Translator for TinyMCE 5
Self-hosted TinyMCE 5
Cloud TinyMCE 5

Install the plugin to TinyMCE 5 hosted on your server

  1. Copy Translator directory to tinymce/plugins/.
  2. Edit TinyMCE config and add Translator to plugins parameter.

Example

Here you can see sample TinyMCE initialization code with config inside it:

TinyMCE.init({
    selector: "#editor",
    plugins: "Translator",
    buttons: "Translator TranslatorReverse TranslatorConf", // or insert them into your toolbar config
});

Refer to TinyMCE add-ons installation manual for more details

Install the plugin to cloud edition of TinyMCE 5

  1. Copy Translator directory somewhere on your server where it can be accessible by a link.
  2. Specify the location of just copied Translator plugin adding key-value pair in external_plugins TinyMCE config parameter.
  3. Edit TinyMCE config and add Translator to plugins parameter.

Example

Here you can see sample cloud TinyMCE initialization code with config inside it:

TinyMCE.init({
    selector: "#editor",
    plugins: "Translator",
    buttons: "Translator TranslatorReverse TranslatorConf", // or insert them into your toolbar config
    external_plugins: {
        "Translator": "http://example.com/public/Translator/plugin.min.js",
    },
});

Refer to TinyMCE add-ons installation manual for more details

Install Translator plugin in TinyMCE 4

Download Translator
ZIP archive of Translator for TinyMCE 4

Then do these simple steps:

  1. Copy Translator directory to tinymce/plugins/.
  2. Edit TinyMCE config and add Translator to plugins parameter.

Example

Here you can see sample TinyMCE initialization code with config inside it:

TinyMCE.init({
    selector: "#editor",
    plugins: "Translator",
    buttons: "Translator TranslatorReverse TranslatorConf", // or insert them into your toolbar config
});

Refer to TinyMCE add-ons installation manual for more details

Reviews

We wanted to provide the translate functionality to our customers on our online platform and found the perfect add-on for this purpose. A small plugin can really make life much easier.

User icon
Daniel D.
Web service (SaaS)

We are using Translator specifically for the translator functionality and everything is working well. I love its minimalism and functionality.

User icon
Richard P.
Agency

I have experience in using 'translator' with CKEditor. It covers really a lot of languages. The process of translating is based on Google service. So it is really fast and robust.

User icon
Adrian E.
Individual

Tell a friend about Translator

Send