Image Gallery logo

Image Gallery plugin

Create beautiful image galleries with interactive previews
Image Gallery screenshot
Image Gallery screenshotGallery overview screenshot
Image Gallery logo

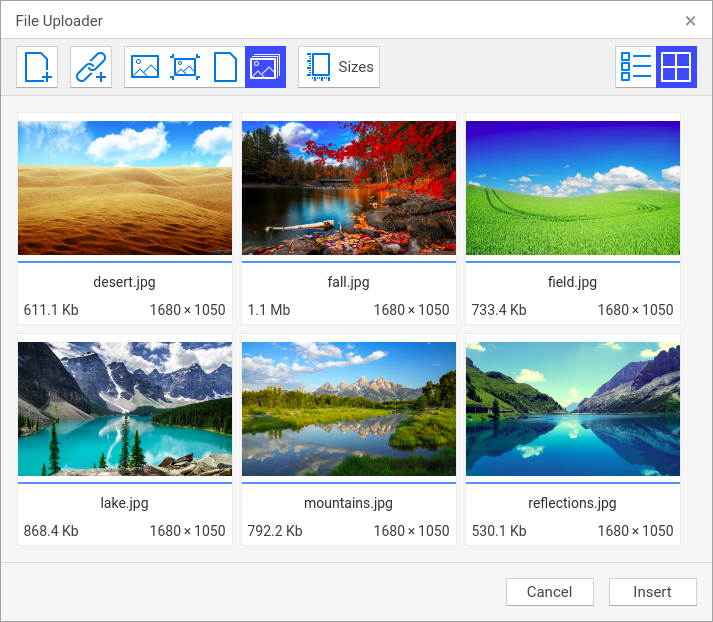
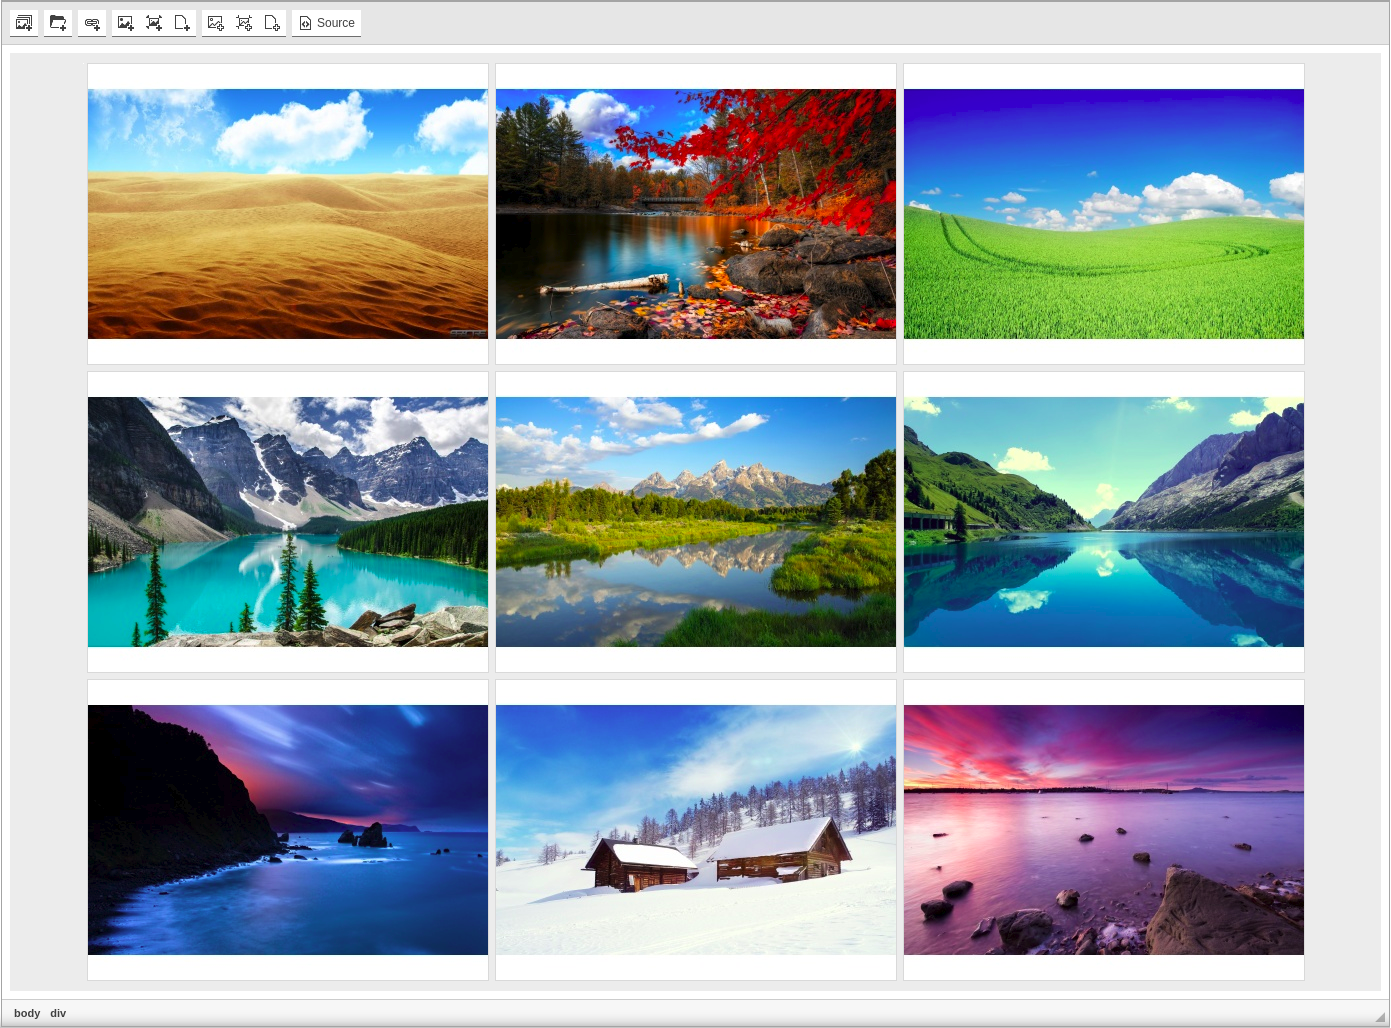
Create and insert to your webpages image albums. You can choose any photos or other pictures and organize them as a gallery of previews compatible with such preview scripts like ShadowBox, FancyBox or LightBox.

Your server must support PHP or ASP.NET in order to get images from browser and resize them.

Image Gallery plugin is compatible with TinyMCE and CKEditor, and can work in inline mode too.

CKEditor 4 logo CKEditor 4
TinyMCE 6 logo TinyMCE 6
TinyMCE 5 logo TinyMCE 5
TinyMCE 4 logo TinyMCE 4

Install Image Gallery plugin in CKEditor 4

Download Image Gallery
ZIP archive of Image Gallery for CKEditor 4

Then do these simple steps:

  1. Copy ImageGallery directory to ckeditor/plugins/.
  2. Edit CKEditor config and add ImageGallery to extraPlugins parameter.

All the buttons this plugin will add to your toolbar automatically.

Using config file
Using initialization script

Example of configuring with config.js

If you prefer to edit config.js config file of CKEditor or when your CKEditor initialization code is placed inside some non-editable part of CMS, make these changes there:

CKEDITOR.editorConfig = function(config) {
    config.extraPlugins = "ImageGallery";
};

Example of configuring inside initialization code

Some CMSs do not use config.js file and let to edit CKEditor initialization script only. Do this changes there:

CKEDITOR.replace("#editor", {
    extraPlugins: "ImageGallery",
});

Install Image Gallery plugin in TinyMCE 6

Download Image Gallery
ZIP archive of Image Gallery for TinyMCE 6
Self-hosted TinyMCE 6
Cloud TinyMCE 6

Install the plugin to TinyMCE 6 hosted on your server

  1. Copy ImageGallery directory to tinymce/plugins/.
  2. Edit TinyMCE config and add ImageGallery to plugins parameter.

All the buttons this plugin will add to your toolbar automatically.

Example

Here you can see sample TinyMCE initialization code with config inside it:

TinyMCE.init({
    selector: "#editor",
    plugins: "ImageGallery",
});

Refer to TinyMCE add-ons installation manual for more details

Install the plugin to cloud edition of TinyMCE 6

  1. Copy ImageGallery directory somewhere on your server where it can be accessible by a link.
  2. Specify the location of just copied Image Gallery plugin adding key-value pair in external_plugins TinyMCE config parameter.
  3. Edit TinyMCE config and add ImageGallery to plugins parameter.

All the buttons this plugin will add to your toolbar automatically.

Example

Here you can see sample cloud TinyMCE initialization code with config inside it:

TinyMCE.init({
    selector: "#editor",
    plugins: "ImageGallery",
    external_plugins: {
        "ImageGallery": "http://example.com/public/ImageGallery/plugin.min.js",
    },
});

Refer to TinyMCE add-ons installation manual for more details

Install Image Gallery plugin in TinyMCE 5

Download Image Gallery
ZIP archive of Image Gallery for TinyMCE 5
Self-hosted TinyMCE 5
Cloud TinyMCE 5

Install the plugin to TinyMCE 5 hosted on your server

  1. Copy ImageGallery directory to tinymce/plugins/.
  2. Edit TinyMCE config and add ImageGallery to plugins parameter.

All the buttons this plugin will add to your toolbar automatically.

Example

Here you can see sample TinyMCE initialization code with config inside it:

TinyMCE.init({
    selector: "#editor",
    plugins: "ImageGallery",
});

Refer to TinyMCE add-ons installation manual for more details

Install the plugin to cloud edition of TinyMCE 5

  1. Copy ImageGallery directory somewhere on your server where it can be accessible by a link.
  2. Specify the location of just copied Image Gallery plugin adding key-value pair in external_plugins TinyMCE config parameter.
  3. Edit TinyMCE config and add ImageGallery to plugins parameter.

All the buttons this plugin will add to your toolbar automatically.

Example

Here you can see sample cloud TinyMCE initialization code with config inside it:

TinyMCE.init({
    selector: "#editor",
    plugins: "ImageGallery",
    external_plugins: {
        "ImageGallery": "http://example.com/public/ImageGallery/plugin.min.js",
    },
});

Refer to TinyMCE add-ons installation manual for more details

Install Image Gallery plugin in TinyMCE 4

Download Image Gallery
ZIP archive of Image Gallery for TinyMCE 4

Then do these simple steps:

  1. Copy ImageGallery directory to tinymce/plugins/.
  2. Edit TinyMCE config and add ImageGallery to plugins parameter.

All the buttons this plugin will add to your toolbar automatically.

Example

Here you can see sample TinyMCE initialization code with config inside it:

TinyMCE.init({
    selector: "#editor",
    plugins: "ImageGallery",
});

Refer to TinyMCE add-ons installation manual for more details

Reviews

I'm blogging about travel and I love to show big and small galleries with the places I've visited. With Gallery addon it just has got a lot easier: choose beautiful photos and insert them in one click.

User icon
Nina M.
Individual

Multiple uploading pictures and styling as an album.

Love it ♥

User icon
Rohan A.
Individual

Tell a friend about Image Gallery

Send