Bootstrap Table Tools logo

Bootstrap Table Tools plugin

Support of Bootstrap styled tables and tools to add and edit them
Table Tools screenshot
Table Tools screenshotInsert table screenshotInsert table screenshot
Bootstrap Table Tools logo

Bootstrap Table Tools is a add-ons set for manipulating and styling tables adopted for using with Bootstrap. In other words it is like regulate Table Tools but with Bootstrap specific features support.

You can use these plugins for adding Bootstrap tables, edit them, their rows', columns' and cells' styles and classes. We have also added move rows/columns feature omitted in standard features set of CKEditor & TinyMCE.

The bundle contains these plugins:

  • Bootstrap Include CSS & JS. Helps you to attach Bootstrap styles to your document, so they will be displayed with appropriate sizes and positions defined by Bootstrap CSS.
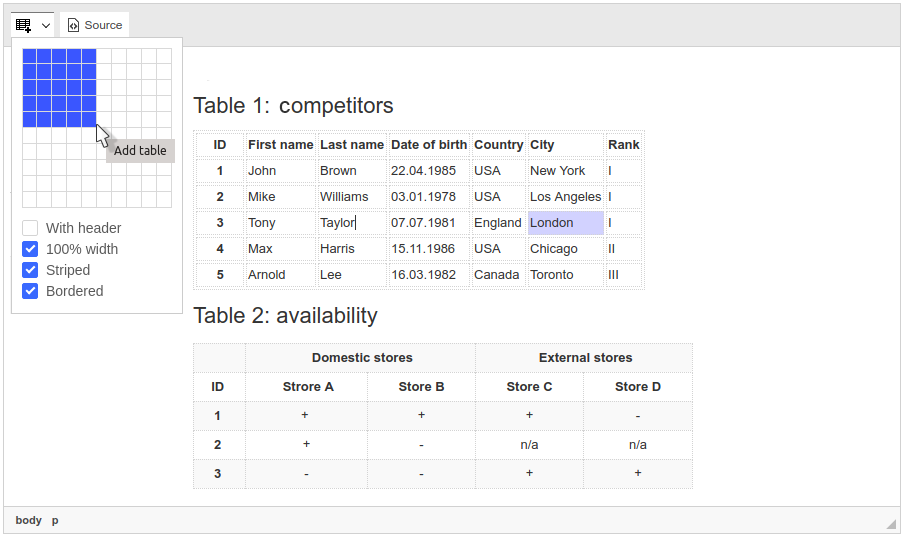
  • New Bootstrap Table. Creating a table in two clicks just by choosing number of columns and rows.
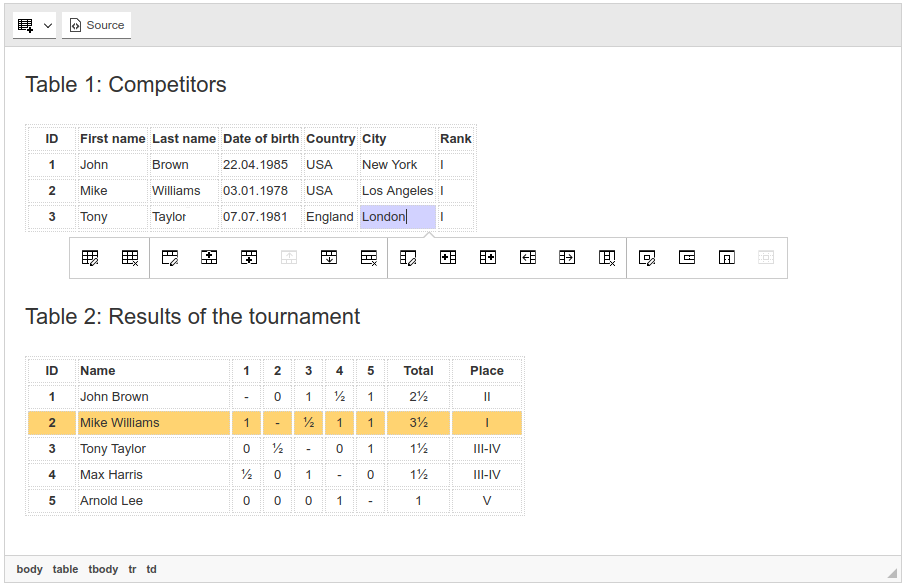
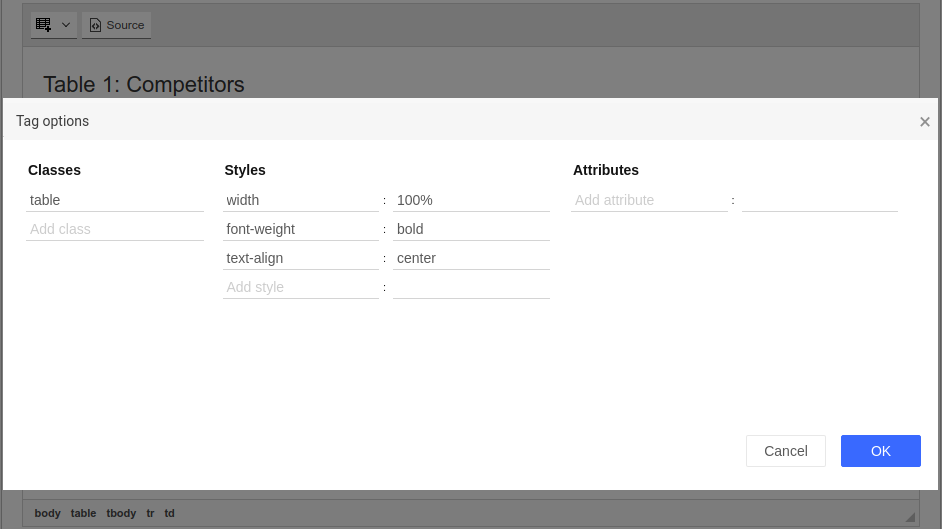
  • Bootstrap Table Configuration. Great instrument for managing table's styles, classes and attributes.
  • Bootstrap Table Column Configuration. Configuring column's cells classes, styles and attribute at once.
  • Move Bootstrap Table Column. This feature was omitted in standard plugins, this plugin will fix it.
  • Insert Bootstrap Table Column. Add column to the left or to the right after selecting another column.
  • Delete Bootstrap Table Column. Easily select and delete the column with help of toolbar button.
  • Bootstrap Table Row Configuration. Configure "tr" HTML tag to apply new styles to a table's row.
  • Move Bootstrap Table Row. Quick moving selected row to the up or to the down.
  • Insert Bootstrap Table Row. You can add a new row above or below of the selected one.
  • Delete Bootstrap Table Row. Select row and delete it in one click.
  • Bootstrap Table Cell Configuration. Aimed changing of cell's display mode by editing styles and classes with using comfortable dialog.
  • Insert Bootstrap Table Cell. You can insert new cells in the table with two buttons of this plugin.
  • Delete Bootstrap Table Cell. Select & delete unused cell.
  • Merge Bootstrap Table Cells. Three add-ons for merged cells: with neighbors or just selected cells together.
  • Split Bootstrap Table Cell. Vertical or horizontal splitting of cells is available with these two plugins.
CKEditor 4 logo CKEditor 4
TinyMCE 6 logo TinyMCE 6
TinyMCE 5 logo TinyMCE 5
TinyMCE 4 logo TinyMCE 4

Install Bootstrap Table Tools plugin in CKEditor 4

Download Bootstrap Table Tools
ZIP archive of Bootstrap Table Tools for CKEditor 4

Then do these simple steps:

  1. Copy BootstrapTable directory to ckeditor/plugins/.
  2. Edit CKEditor config and add BootstrapTable to extraPlugins parameter.

All the buttons this plugin will add to your toolbar automatically.

Using config file
Using initialization script

Example of configuring with config.js

If you prefer to edit config.js config file of CKEditor or when your CKEditor initialization code is placed inside some non-editable part of CMS, make these changes there:

CKEDITOR.editorConfig = function(config) {
    config.extraPlugins = "BootstrapTable";
};

Example of configuring inside initialization code

Some CMSs do not use config.js file and let to edit CKEditor initialization script only. Do this changes there:

CKEDITOR.replace("#editor", {
    extraPlugins: "BootstrapTable",
});

Install Bootstrap Table Tools plugin in TinyMCE 6

Download Bootstrap Table Tools
ZIP archive of Bootstrap Table Tools for TinyMCE 6
Self-hosted TinyMCE 6
Cloud TinyMCE 6

Install the plugin to TinyMCE 6 hosted on your server

  1. Copy BootstrapTable directory to tinymce/plugins/.
  2. Edit TinyMCE config and add BootstrapTable to plugins parameter.

All the buttons this plugin will add to your toolbar automatically.

Example

Here you can see sample TinyMCE initialization code with config inside it:

TinyMCE.init({
    selector: "#editor",
    plugins: "BootstrapTable",
});

Refer to TinyMCE add-ons installation manual for more details

Install the plugin to cloud edition of TinyMCE 6

  1. Copy BootstrapTable directory somewhere on your server where it can be accessible by a link.
  2. Specify the location of just copied Bootstrap Table Tools plugin adding key-value pair in external_plugins TinyMCE config parameter.
  3. Edit TinyMCE config and add BootstrapTable to plugins parameter.

All the buttons this plugin will add to your toolbar automatically.

Example

Here you can see sample cloud TinyMCE initialization code with config inside it:

TinyMCE.init({
    selector: "#editor",
    plugins: "BootstrapTable",
    external_plugins: {
        "BootstrapTable": "http://example.com/public/BootstrapTable/plugin.min.js",
    },
});

Refer to TinyMCE add-ons installation manual for more details

Install Bootstrap Table Tools plugin in TinyMCE 5

Download Bootstrap Table Tools
ZIP archive of Bootstrap Table Tools for TinyMCE 5
Self-hosted TinyMCE 5
Cloud TinyMCE 5

Install the plugin to TinyMCE 5 hosted on your server

  1. Copy BootstrapTable directory to tinymce/plugins/.
  2. Edit TinyMCE config and add BootstrapTable to plugins parameter.

All the buttons this plugin will add to your toolbar automatically.

Example

Here you can see sample TinyMCE initialization code with config inside it:

TinyMCE.init({
    selector: "#editor",
    plugins: "BootstrapTable",
});

Refer to TinyMCE add-ons installation manual for more details

Install the plugin to cloud edition of TinyMCE 5

  1. Copy BootstrapTable directory somewhere on your server where it can be accessible by a link.
  2. Specify the location of just copied Bootstrap Table Tools plugin adding key-value pair in external_plugins TinyMCE config parameter.
  3. Edit TinyMCE config and add BootstrapTable to plugins parameter.

All the buttons this plugin will add to your toolbar automatically.

Example

Here you can see sample cloud TinyMCE initialization code with config inside it:

TinyMCE.init({
    selector: "#editor",
    plugins: "BootstrapTable",
    external_plugins: {
        "BootstrapTable": "http://example.com/public/BootstrapTable/plugin.min.js",
    },
});

Refer to TinyMCE add-ons installation manual for more details

Install Bootstrap Table Tools plugin in TinyMCE 4

Download Bootstrap Table Tools
ZIP archive of Bootstrap Table Tools for TinyMCE 4

Then do these simple steps:

  1. Copy BootstrapTable directory to tinymce/plugins/.
  2. Edit TinyMCE config and add BootstrapTable to plugins parameter.

All the buttons this plugin will add to your toolbar automatically.

Example

Here you can see sample TinyMCE initialization code with config inside it:

TinyMCE.init({
    selector: "#editor",
    plugins: "BootstrapTable",
});

Refer to TinyMCE add-ons installation manual for more details

Reviews

Table management functionality is like a TinyMCE table plugin. Moreover the tables could be styled with Bootstrap or Foundation CSS. It's really cool!

User icon
Mandeep L.
Freelancer

Tell a friend about Bootstrap Table Tools

Send